While doing my Demo Game of Robin Hood I was asked a few times about how I made the Castle. I thought that I should post a bit more from the beginning. The task was really simple once I had worked out a few details but it took a lot of patience as its not something you can achieve over a weekend. The first photos I took were with my older camera and posted on Lead Adventures, but not on the Blog. I thought it worthwhile reposting them here just for a complete record.
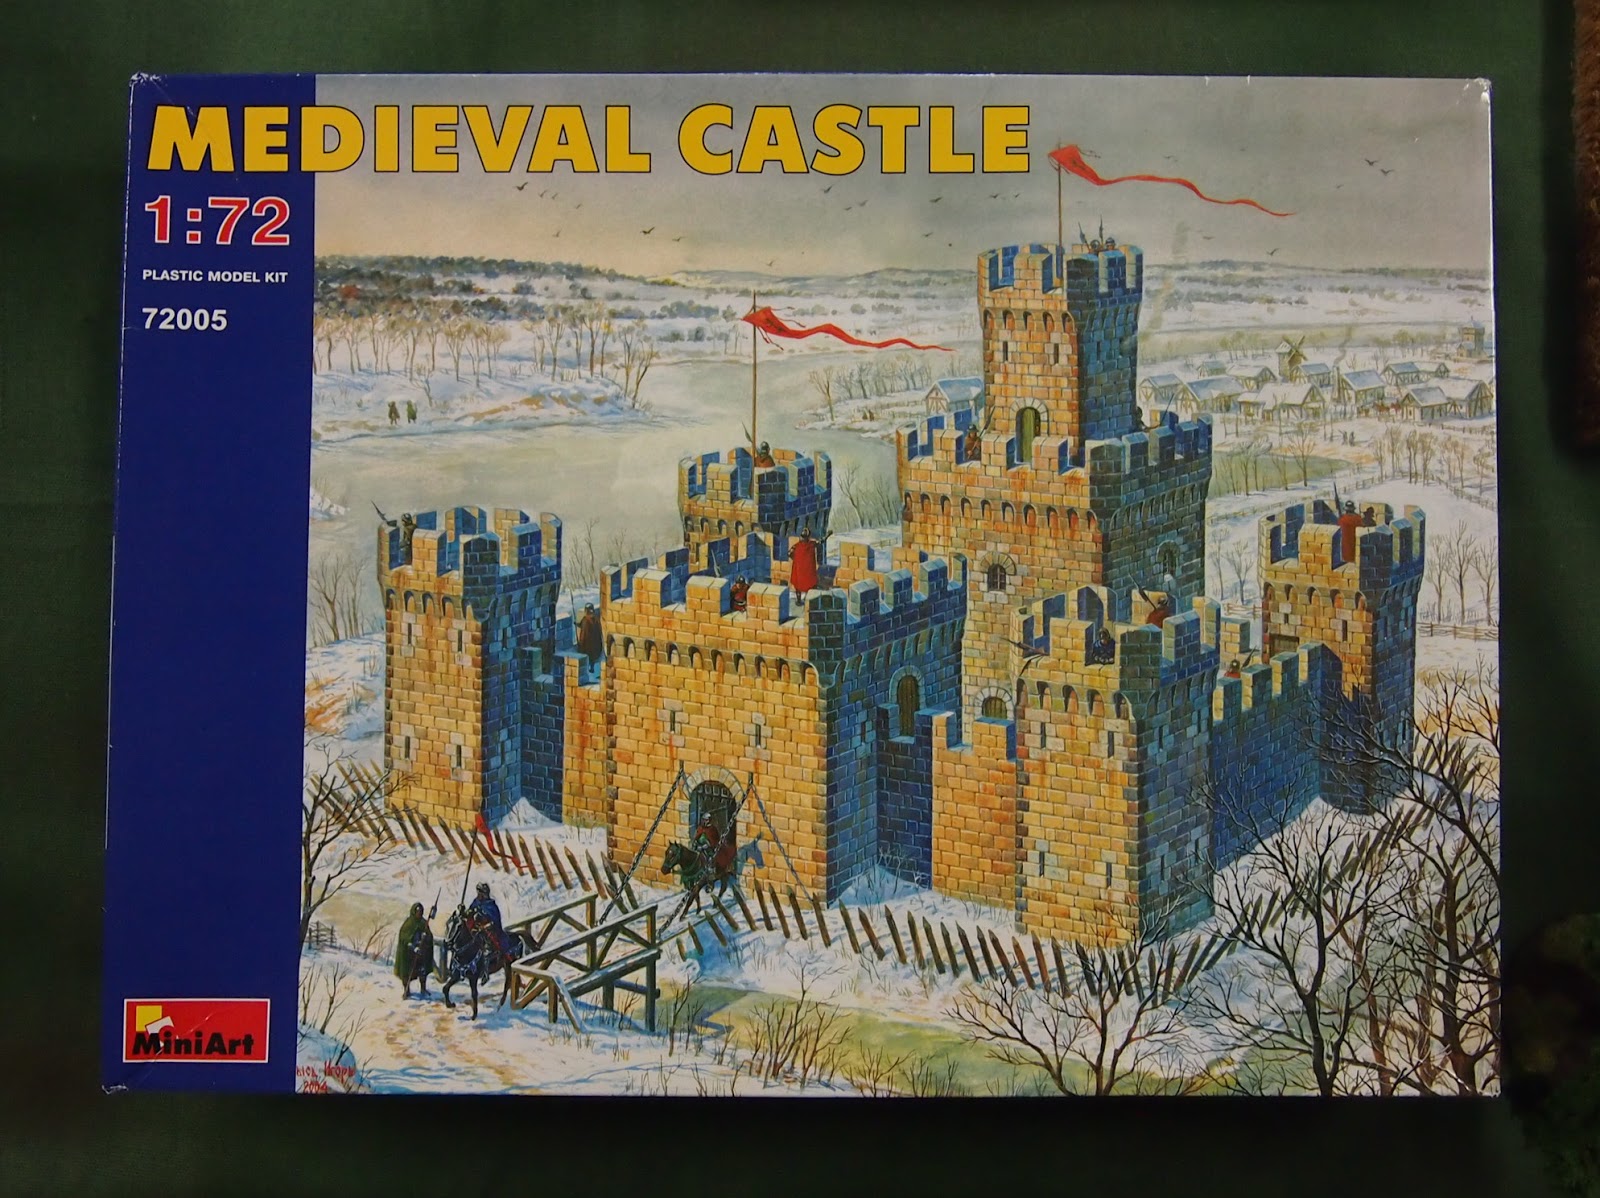
I bought this 1/72nd scale Castle for about NZ$45 from Trademe (about 22 pounds).
It was a bit too small but had lots of details that could be used.
Once I had assembled to parts to make bigger towers and higher walls I needed something to make the walls look a bit thicker. I had been made aware of others using insulation foam to make entire Castles but felt that combining them would be a better solution for me. I also wanted to make areas playable so also used MDF to back some walls as it was strong and thin.


I found that the door were too small so ordered these Dungeon doors from Black Tree Design. I would be using the main gates as doorways for the front Hall entrance and the access to the Dungeon.

I then had to make stairs and other details out of bit of foam, plastic card, brass rod, plus bits from the spares box.


That should bring my postings about the Castle up to date.

No comments:
Post a Comment
I am turning on comments for now and hope the spammers stay away.