Showing posts with label Battle For Berlin. Show all posts

Saturday, 8 December 2018

Berlin Buildings - number 2 modified roof.

I needed to do a large modification to this building as the roof was looking too large. I cut off about 30mm from the bottom edge using a steel ruler and box cutter knife. It turned out easier than I previously thought as there was also a few sections of foam core bulkheads that needed cutting through as well. Everything seemed to come up nice and square and I hid the trimmed parts with some balsa.

Before modification


I now need to add some dormer windows and then do the tiling which I am probably running short of. I should order some now but with Xmas postage I may just leave it for the moment.

The method I use for making consistent sized rod for the windows started off being difficult so came up with a cheaper version of a plastic strip chopper. Using an aluminium box square and plastic card I managed to cut consistent strips. I only had problems when I allowed the knife blade to cut at an angle. A picture paints a thousand words so I hope this make things a bit clearer.


In the photo above the long thin rod is dropped into the slot in the photo below to give the correct length. I have coloured it red to stand out. The card marked block is used to stop the strips from moving around. The other piece of card is used as a backstop for the rod. There are wider channels in the aluminium box so I hope this works with other sized strip. I am using 1.5 plastic rod. I use the right hand edge of the box as a cutting guide.


Untrimmed rod in the device. 

The small strip is the lengthI am using for the windows.

Friday, 9 November 2018

Berlin Buildings - an update on progress.

Well this has turned out to be a much bigger task than I anticipated. Progress has been a bit slow as I am finding that I am taking two steps forward and another sideways, but progress is happening.

I built two buildings with windows from Resin, copied from some which I had built in plastic. I have attempted to assemble another two buildings but had issues with making more resin windows so put that aside till the warmer weather. I figured that the resin making kit stored in my back room is too cold most of the year and have just cleared a space in my cupboard where I keep my security monitor, as that seems to have a constant temperature most of the year.

The first building is ready to paint but, I am bothered with the way it looks. I suspect most people would say to not worry about it but the rest would say I messed up. Luckily its not too late to correct.
The issue I feel is that the roof looks like it has been designed by one committee and the building by another with different versions of the plans (what plans?)


The fix for this is actually quite easy as it turns out that by switching some small window sections with some larger ones the roof will fit exactly like it was meant to. The building is all glued together so I have had to cannibalise parts from buildings three and four to make a new version of building one.


Building two had the roof built to the same design as one but since I have not done any detail work on it yet I should be able to cut it down for a better fit.


Building four has now become a problem as I was originally going to make a copy of building two, but have taken out the larger window sections and replaced them with the smaller ones. I also have loads of bits left over so could make a large odd shaped building or the smaller one. For the moment I will be going for the small version and try and get another kit to use the spare parts on. I feel the large version will be hard to store and transport.


I case you are wondering what materials I have been using I will give a rundown.

Dark Grey Plastic - The Dust Tactics Tenement Buildings (2 versions)
Black parts - Foam Core.
White parts - either plastic card or cardboard.
Cream Windows - Resin.
Blue Roofing tiles - Charlie Foxtrot Roofing tiles (2 versions)
Down pipes - BBQ skewers.
Lamps - Mega Miniatures Medieval lamps.
Chimneys - Lego wrapped in Plastic card.
Roof edging - Balsa wood.
Black roof material - Sandpaper.

I would like to build some drop in rooms at some stage but want to concentrate on the buildings first for the moment.

Saturday, 20 October 2018

Battle for Berlin- Tank Hunters and Characters

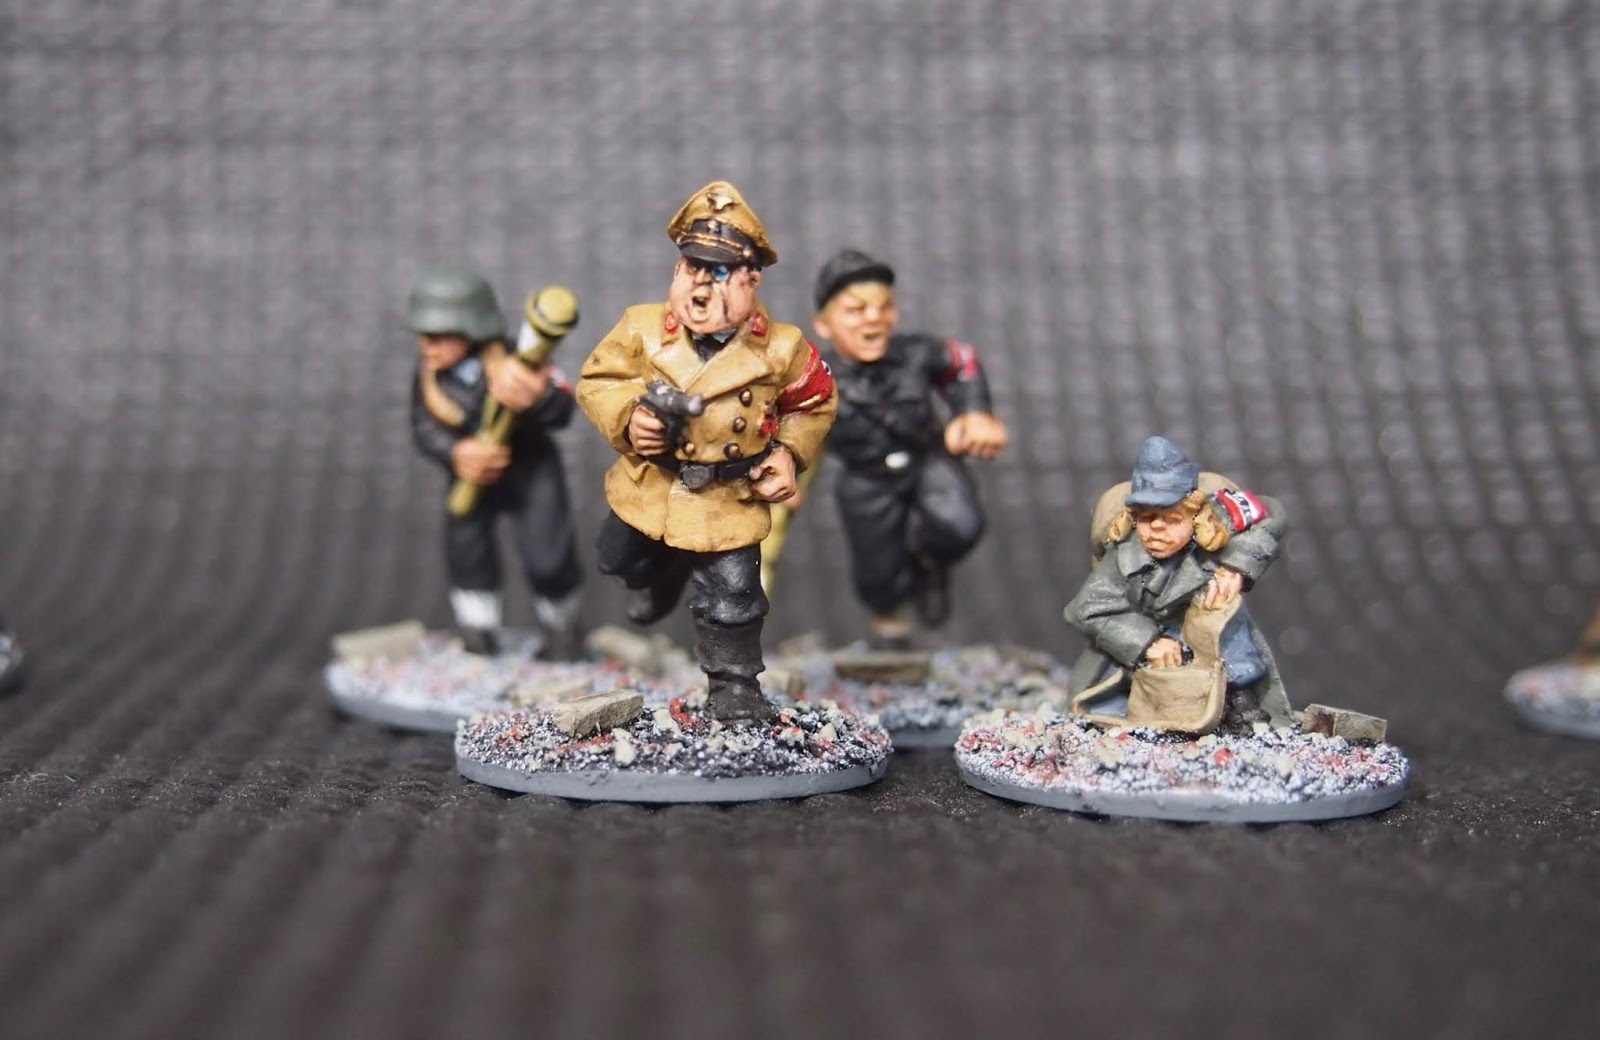
My Tank Hunter Squad comprises of a Junior Leader and four Hunters armed with Panzerfausts. They are a mix of Warlord and Great Escape Games figures. I did not organise the photos very well but you should be able to pick these out from the photographs. 

The Characters are more Command types plus a Scientist. He is an Artisan figure armed with a Luger but I also gave hime an MP40. I did not want to give him a white coat so copied the colour of my old Dust Coat I had when I was a trainee Technician with the Post Office. The SS officer in the Leather Coat comes from TAG and was a freebie. The old wounded Officer is from the Warlord Last Levy set. The familiar looking fellow with the little moustache is a conversion using a Bolt Action figure with a WestWind head and some Greenstuff. He also got a Pistol. I call him "The Dishevelled Dictator" who is trying to make his escape.


Saturday, 11 August 2018

Battle for Berlin - Command figures.

This is the first batch of figures for The Battle for Berlin. The figures are a mix of different ranges; Warlord, Great Escape Games, Old Glory and Wargames Foundry. Other batches will have a different mix of ranges which I will mention at the time of posting. The next batch will also have more HQ figures and Tank Hunters.

I took so many photos as I was too heavy handed with the Dull Coat and the figures look very glossy. This made taking decent photos very difficult. I will probably go back with some matt varnish later if the gloss does not flatten with time. The Officer looks like I had painted him with a house brush and used one colour. In reality the Hat and Tunic have a wash and highlights which you can't really see.


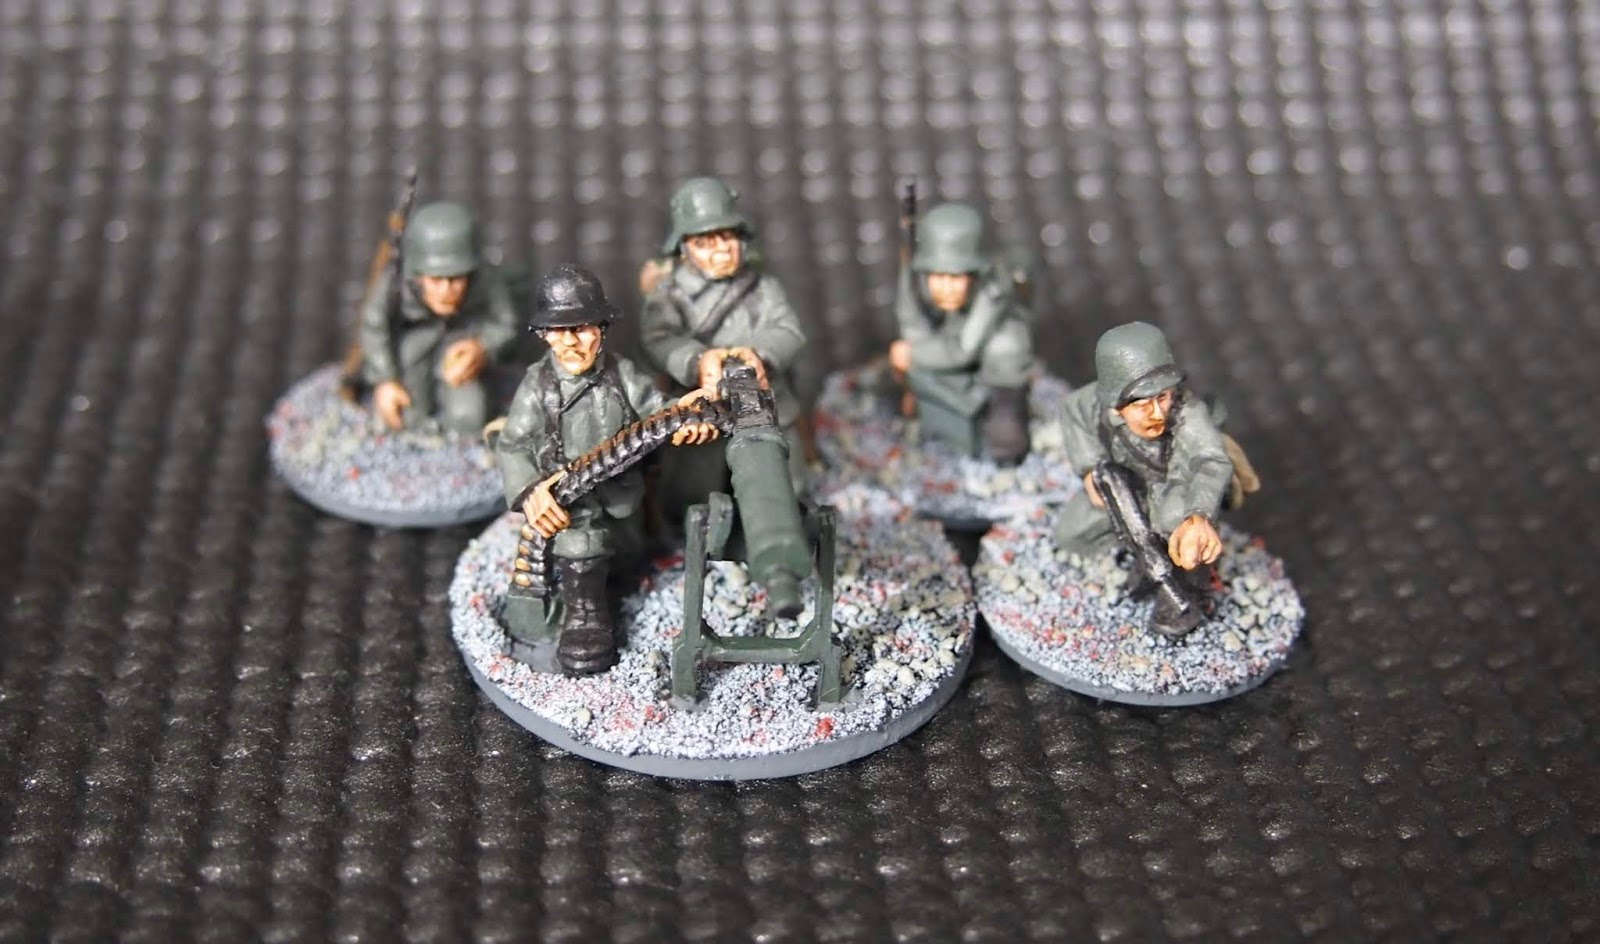
From left to right. Sniper (Krummlauf Assault Rifle). NSDAP Official, 2 Tank Hunters and Medic. Hmg team (Old Glory) with extra crew from Foundry (which are showing their age a bit). I added the extra figures as some rule sets like Chain of Command are more accurate in the levels of crew required. The two Old Glory figures had their equipment removed and replaced with some plastic Warlord bits. One also has a new Warlord Head. I may add an extra figure to the Sniper if I can find one that looks suitable.


Saturday, 30 June 2018

Battle For Berlin - Borgward Wanze

Isn't it funny how how some ideas keep resurfacing in this Hobby of ours? Often we have a mad idea that gets put aside when other projects need to be completed. I had a 15mm Battle for Berlin German force, as well as a Soviet force to oppose it. Some time ago it was used in a massive Battle in my old games-room with a former Club-mate.  My Germans were made using mainly German Tank crews with over-coats from Greenstuff. I don't think I could do that again as my eyes need reading glasses these days and my hands are less flexible than they used to be. So when I saw that Warlord had brought out The Last Levy I just had to buy it. This sat in my Lead pile till I was interested again by the Building of the Reichstag link on Lead Adventure. There is no way that I am going to copy this build and will instead focus on a general looking street area. 


I have had a Dust Tactics Operation Cerebus set kicking around for awhile in a semi complete state and meant to finish it over the Xmas break. However my partner decided that I should instead paint the kitchen. The kit gives enough parts to make a three story building, but I wanted to make two seperate buildings which meant tracking down some extras on eBay and using plastic card for the rear walls. I also made some resin windows which I have posted about earlier. Lately (because its too wet to work outside) I have made some progress. I need to pour some more windows to put into the roofs. I'd like to add a third story to these, and I wish I could get hold of more of these kits but they seem to be out of production. I bought the last in store from the Dust website and one from eBay. These are the smaller tenement buildings which I am still playing around with. The idea is of using them on the board edge and they will be open at the backs. Not all of Berlin was bombed out so I might be able to just make wrecked roofs for these and the other buildings as alternatives.

Now onto the Wanze. I really like this little vehicle but as most of my Late War vehicles are 1/48th and 1/50th I have had to compromise and buy this 1/56th version from Warlord. Its a nice little model but feel that 1/48th is a better scale as they have made the gunner tiny, to made him look correct with the vehicle. I know he is supposed to be a boy soldier but his head is tiny compared to the boy and girl soldiers in the Last Levy set. I noticed that the US Tank Commanders I bought from Warlord are also seriously under scale when compared to their Soldiers. I painted the Wanze following John Bonds method link but afraid that I went off script and started dry brushing and my own methods to weather it.


I also have five resin wrecked two story buildings which need to be remodelled. They were bought second hand and I have done nothing with. I also found another Blogger has done this setting before using MDF buildings. link  which is worth looking at for ideas. I think I need to do a good job so this will be an occasional project. I also really need to finish off my AZW collection as well as some more Vietnam related painting.