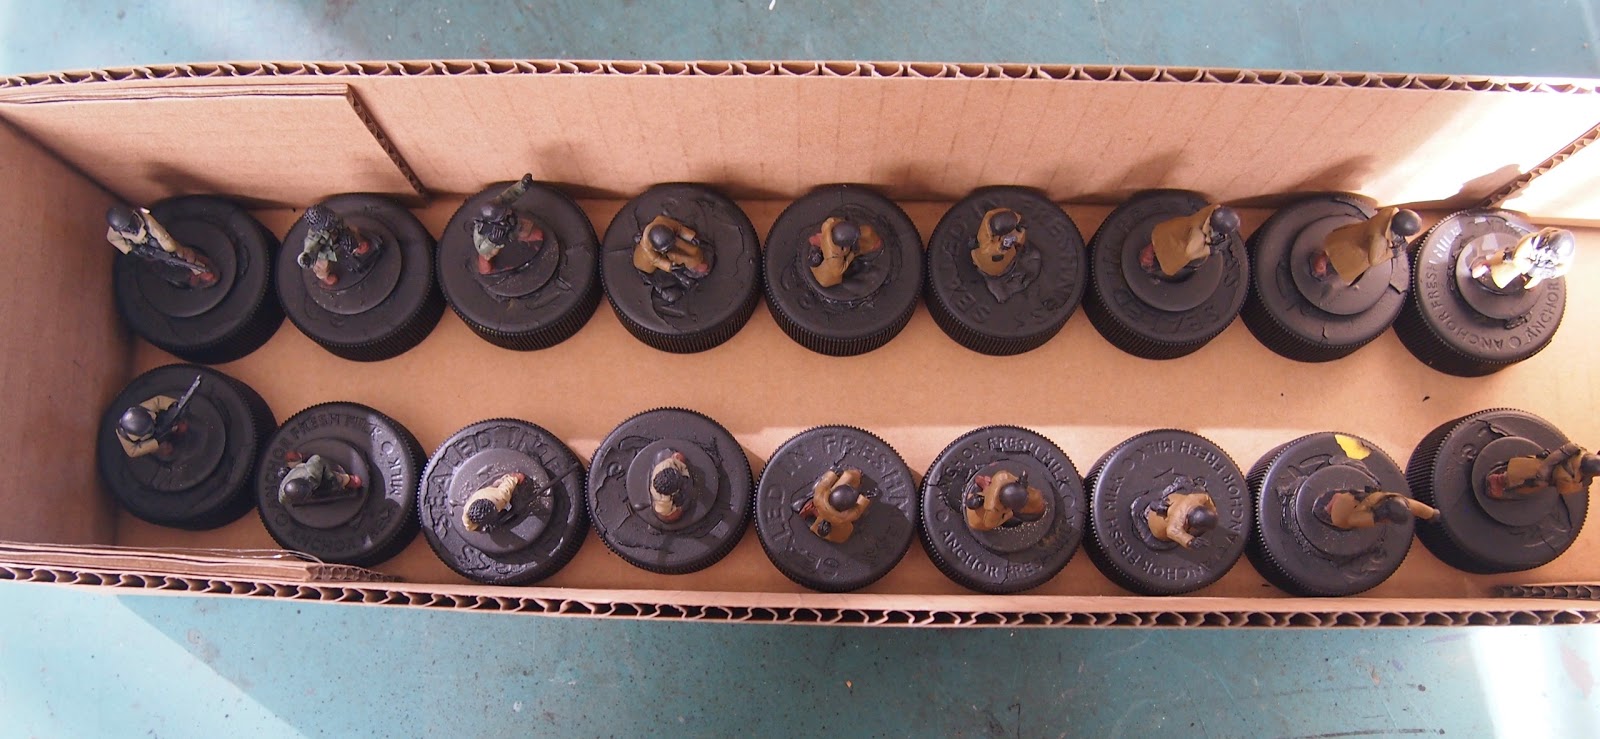
During the past couple of months I have done plenty of hobby work but have not really completed much.
I prefer to assemble during the day and paint at night so with Holidays etc I seem to flit from one project to another. Photographed below are a Water Cart for AZW , a Chariot and wagon for my DBMM Ancient Britons, a Panzer II for Crete, and a Blitzkrieg Tiger and Panther for Chain of Command. I also did some work on my Cyber Punk layout but have not taken any photos yet.
Its been awhile since I have posted anything Wargames related on the Blog, this is a bit of a catch up.
Blogger has changed since I last posted some photos and I'd like to say that the new interface sucks. It could also be due a compatability issue with my old iMac which is starting to show its age?
First up some sandbag emplacements which are a mix of bought and scratch built items. I made these especially to fit in front of AT guns so had to lower a couple of them. They are on my Wargames table at the moment but I have not had a chance to use them in a game.
Next up are the twelve Ancient British Chariots that I am working on. Six are from Victrix and the other six are from Renegade. The Renegade horses were like Cart horses which seemed completely out of place so I used them for my Robin Hood project. I replaced them with three sets of horses from Foundry and three from Wargames Factory. Maybe I should have used the LoTR Horses I have as they would have matched the Victrix horses better? They have been stuck to their bases an hour ago so too late now.
The Victrix Chariots are at the back with the Renegade at the front.
I had a conversation with a friend about doing Crete as I have some of the old Foundry German Paras. I also wanted some Gebergjagers. I found some from Black Tree but knew they would be larger than my Paras so decided to use some Perry Afrika Korp instead. These are really slim but quite nice and lend themselves well to conversions. The metal figure is an old West Wind figure.
Also on the work bench are my Future War Police figures. I have had little time to work on them but have managed a single coat of Dark Blue. I think I have a colour scheme worked out which is partly inspired by Judge Dredd and some Cyber Punk schemes I found on the Internet.
A friend asked me why I wasn't updating the Blog more often while we are under Lockdown?
There are really two reasons for this the first being that I am only making a slight increase in production. I am currently supposed to be working so I have to do some online training for half the day which leaves a few hours for doing some prep work, but I have also been using the time to work in the garden or other chores. I don't usually paint during the day as I prefer to do that at night. The second reason is that I prefer to leave some time between updates as they might be missed by casual viewers.
The first week of Lockdown we were left alone and I prepped quite a few things so I don't have to do that work at night and will just paint. I have taken a few photos of items waiting their turn.
Artizan PAK40 and extra crewmen
Crusader Tank Busters
Smith Gun, 37mm AA Gun and Armadillo for Dads Army
US 76mm Guns and CoC Jump off points
US Gun Crews
Sci-Fi Cars and bike
Black Tree Design German Radio crew
French Flag Bearer conversion
French Cuirissiers
The Sci-Fi cars have been put aside as I am having trouble finding the Police light racks I put aside somewhere. I also need to convert another of the bikes so I can finish that batch.
Since I have been pretty sick all Easter with a horrible cough and cold I have not managed to do anything hobby wise. I have also been unable to find the flat Black undercoat that I normally use. The last Zulus I prepped were done using what I thought was the normal undercoat but it also had a top coat combined with the undercoat. I did not realise this until after I finished prepping them. I first thought that there was just a load of unpainted metal showing through rather than the shiny top coat. Anyway once I sprayed with the brown layer things turned out ok.
I have ready for paint; a Company of British Infantry, a V100 Commando Patrol Car (resin) and Zulu wound and disrupted markers. I am just waiting for four Empress wounded Zulus before I paint these last items.
Last week I dropped into my local Model-shop which has relocated into a larger premises and have started stocking more items. They now carry quite a bit more basing style items and paints. I found some large packs of miniNatur tufts, one of which matched the old Army Painter Highland Tufts.
Some of you might have been wondering whatever happened to my Resin making project? Well I am pleased to say that I have ironed out almost all of the problems that I had been having and am well on the way to the assembly stage. Except I normally find terrain is a winter project so have put it aside for the moment. I've also put away all my modern items so no hurry for these now.
The first thing I found out was that heat is vital to the hardening of the resin. So while we had a "few good warm days" during the Summer break (I kid you not, its been miserable) I found an old desk lamp which I put as close to the moulds as I could. The resin turned out really hard and took undercoat really well.
Loads of wastage
However I still had an occasional soft casting which seemed to be worse when I did some small mixes. I found that when filling the measuring jars some of them have varying degrees of convexity of the base. Meaning part A is often far less fluid that part B. In the photo below I poured the desired amount into one container and then poured half into the other by using the divisions. You can see the quantities are very different. The water in the lefthand container does not go all the way back to the rear. I finished up using separate containers to measure out each fluid and then combined them into one. Its probably the way you are meant to do this but not so obvious to a beginner.
Since I have had a number of compliments on my basing technique I thought I'd do a walkthrough. This has been a progression of earlier techniques which just happened to come to maturity in time for this project. I would have liked to use this method for my half done Peninsular and upcoming WW1 projects. In the photos I've focused the camera on the base texture rather than the figures.
I first mix up some filler with some black and brown poster paint so that if any base gets damaged I won't get white patches showing through. Once this is laid on the base I then push some small stones into the soft surface. After the filler is dry I then PVA some sand patches on.
The next day I pool some oil based stain onto the filler, rocks and sand.
The next day I wet brush some Brown Derby paint onto everything. This is a local made paint by Resene which I have used for years on my bases. At this stage its looks too heavy but once it has dried it looks fine.
The next paint I use is called Irish Coffee. I try and be a bit more conservative in applying this but mistakes can be covered up with flock or tufts.
The next step is to dry brush some Palm Sugar.
Once everything is dry I apply some Army Painter Highland Tufts and some Flock which came in a Jungle basing set from Gale Force Nine. At this stage I struck a problem, I have some Tufts left over to do some casualty bases but not enough for any more Regiments or the British. I was a little unhappy to find that Army Painter has changed the supplier of these Tufts as seen in the photo below. I think that I have tracked down some matching Tufts but will have to order some to make sure.
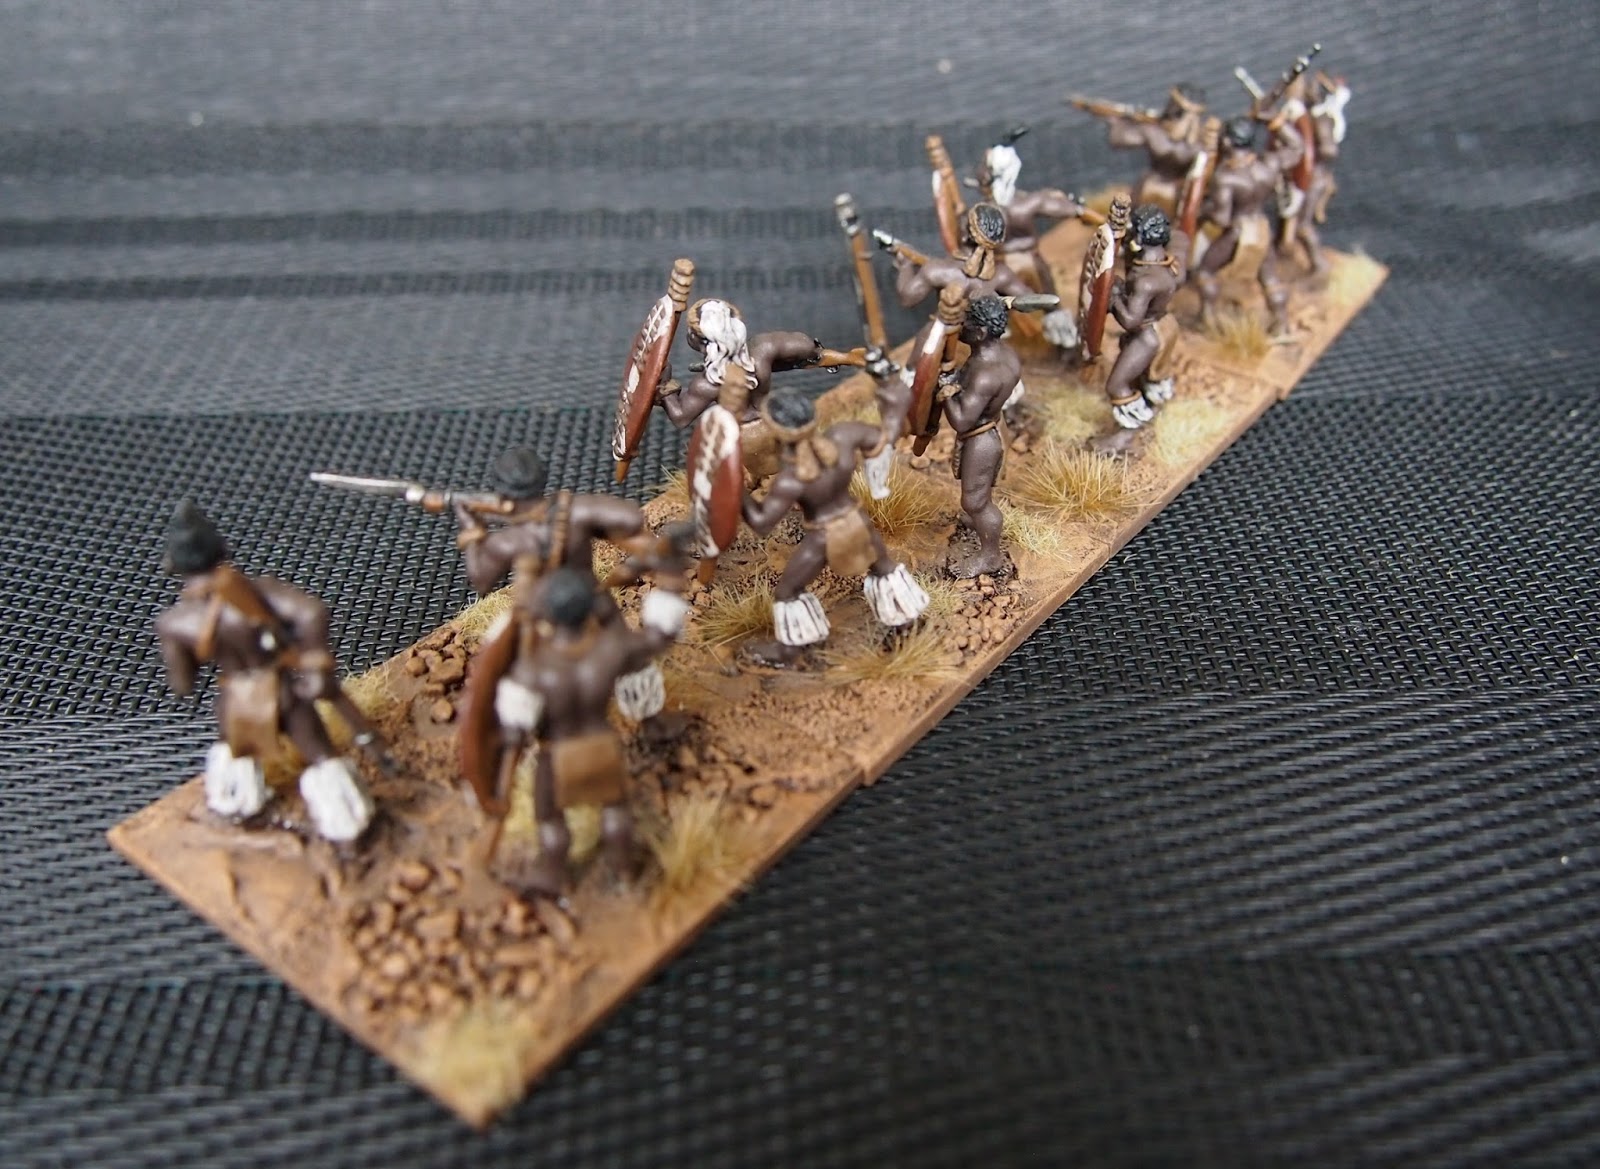
The finished Riflemen which have had two coats of highlights on the skin before varnishing and one after, but its really hard to see any of it. I really love the look of the Shields, which are from the Iqwa Regiment. They look very Hollywood and I intend to use this as a standard shield for any supporting units.
I'm not sure if I should laugh or cry but I've had a good go at producing some resin goodies, and may have learnt a few things along the way. I read a few posts on resin casting and watched some videos on Youtube.
I found the official video and cannot see that I'd done anything wrong.
However my hunch that the problems were to do with heat was backed up by a few things that I had read. One suggestion that I found suggested that post heating might help to cure the resin. So Saturday a week ago I thought that as my partner was working it would be a good time to test out post heating in the oven. I was being careful and found an oven tray which I turned upside down and then covered with tin foil. The idea being to avoid any contamination. I preheated the oven and started to do some vacuuming which was the days chore. After about ten minutes I put the resin on the tray and intended to come back in 10 minutes to check on progress. Well it was almost like 20 minutes when I looked up from vacuuming and noticed black smoke coming from the oven. Panic time!!! first I turned off the oven then opened the oven door. I rushed to the conservatory to open the large sliding door to let some air in and then went to see what had happened to the resin. Much to my surprise nothing really except it looked a bit curled. I grabbed the whole lot and then put it on the back step and spent about half an hour trying to get rid of the smell while trying not to breath anything in. I also finished off the vacuuming. After that it was still a bit smelly so had to open the front door and put a large fan in the hallway to move some air around. Of course by the time I'd finished this the wind had changed and it had started to rain so I went outside and picked the now wet resin off the grass which was where it had blown. I then stuck it on the top of a cupboard and ignored it till Sunday. When my darling came home everything was back to normal with no smell. Presumably if my brother reads this he will drop me in it over Christmas.
Sunday I checked the resin and found that it was really hard but curled. The primer was still sticky on most of the items. I thought I'd have a go with bending the resin with hot water. First few attempts were good as I had selected the best pieces but found that the water went cold too quickly. I then thought up a way of keeping the water hotter for longer by filling a stainless mug with hot water and then sitting it in a bowl of hot water like this.
This worked really well which meant I could go on and reform all the pieces in one go. A bonus was that the primer had also stopped being sticky. I had a couple of spares that obviously were never going to work as they had resin oozing out so these were dumped. I set everything aside and went and did some gardening. Later on I came and checked the pieces out but to my disappointment found that they had all curled again and the primer was sticky again. I muttered to myself that this was not worth it and put everything in here. (quite calmly)
My thoughts on this that too much time had passed which meant that air and moisture had gotten into the resin. I thought that the time taken to do this was longer than doing it in plastic. However I still had some decent moulds and plenty of resin. I had a test run with thicker depth on the window and used the left over resin to make some ammo boxes. I also had to use the lego boxes to give greater depth and preheated everything with a lamp and then used the lamp to heat the setting resin.
Look at the colour, this looks like professional moulded resin and the details are so crisp and square. I am going to start over and remould everything over the Christmas break while the weather is warm. I still have to work out the correct amount of resin to pour as the window is way too thick and wide so I need to shim the mould.
At this point I am very happy and am planning on doing some other casting, but first I have to finish these houses.