Showing posts with label CoC. Show all posts

Friday, 3 February 2023

Wargames Foundry German Paratroopers.

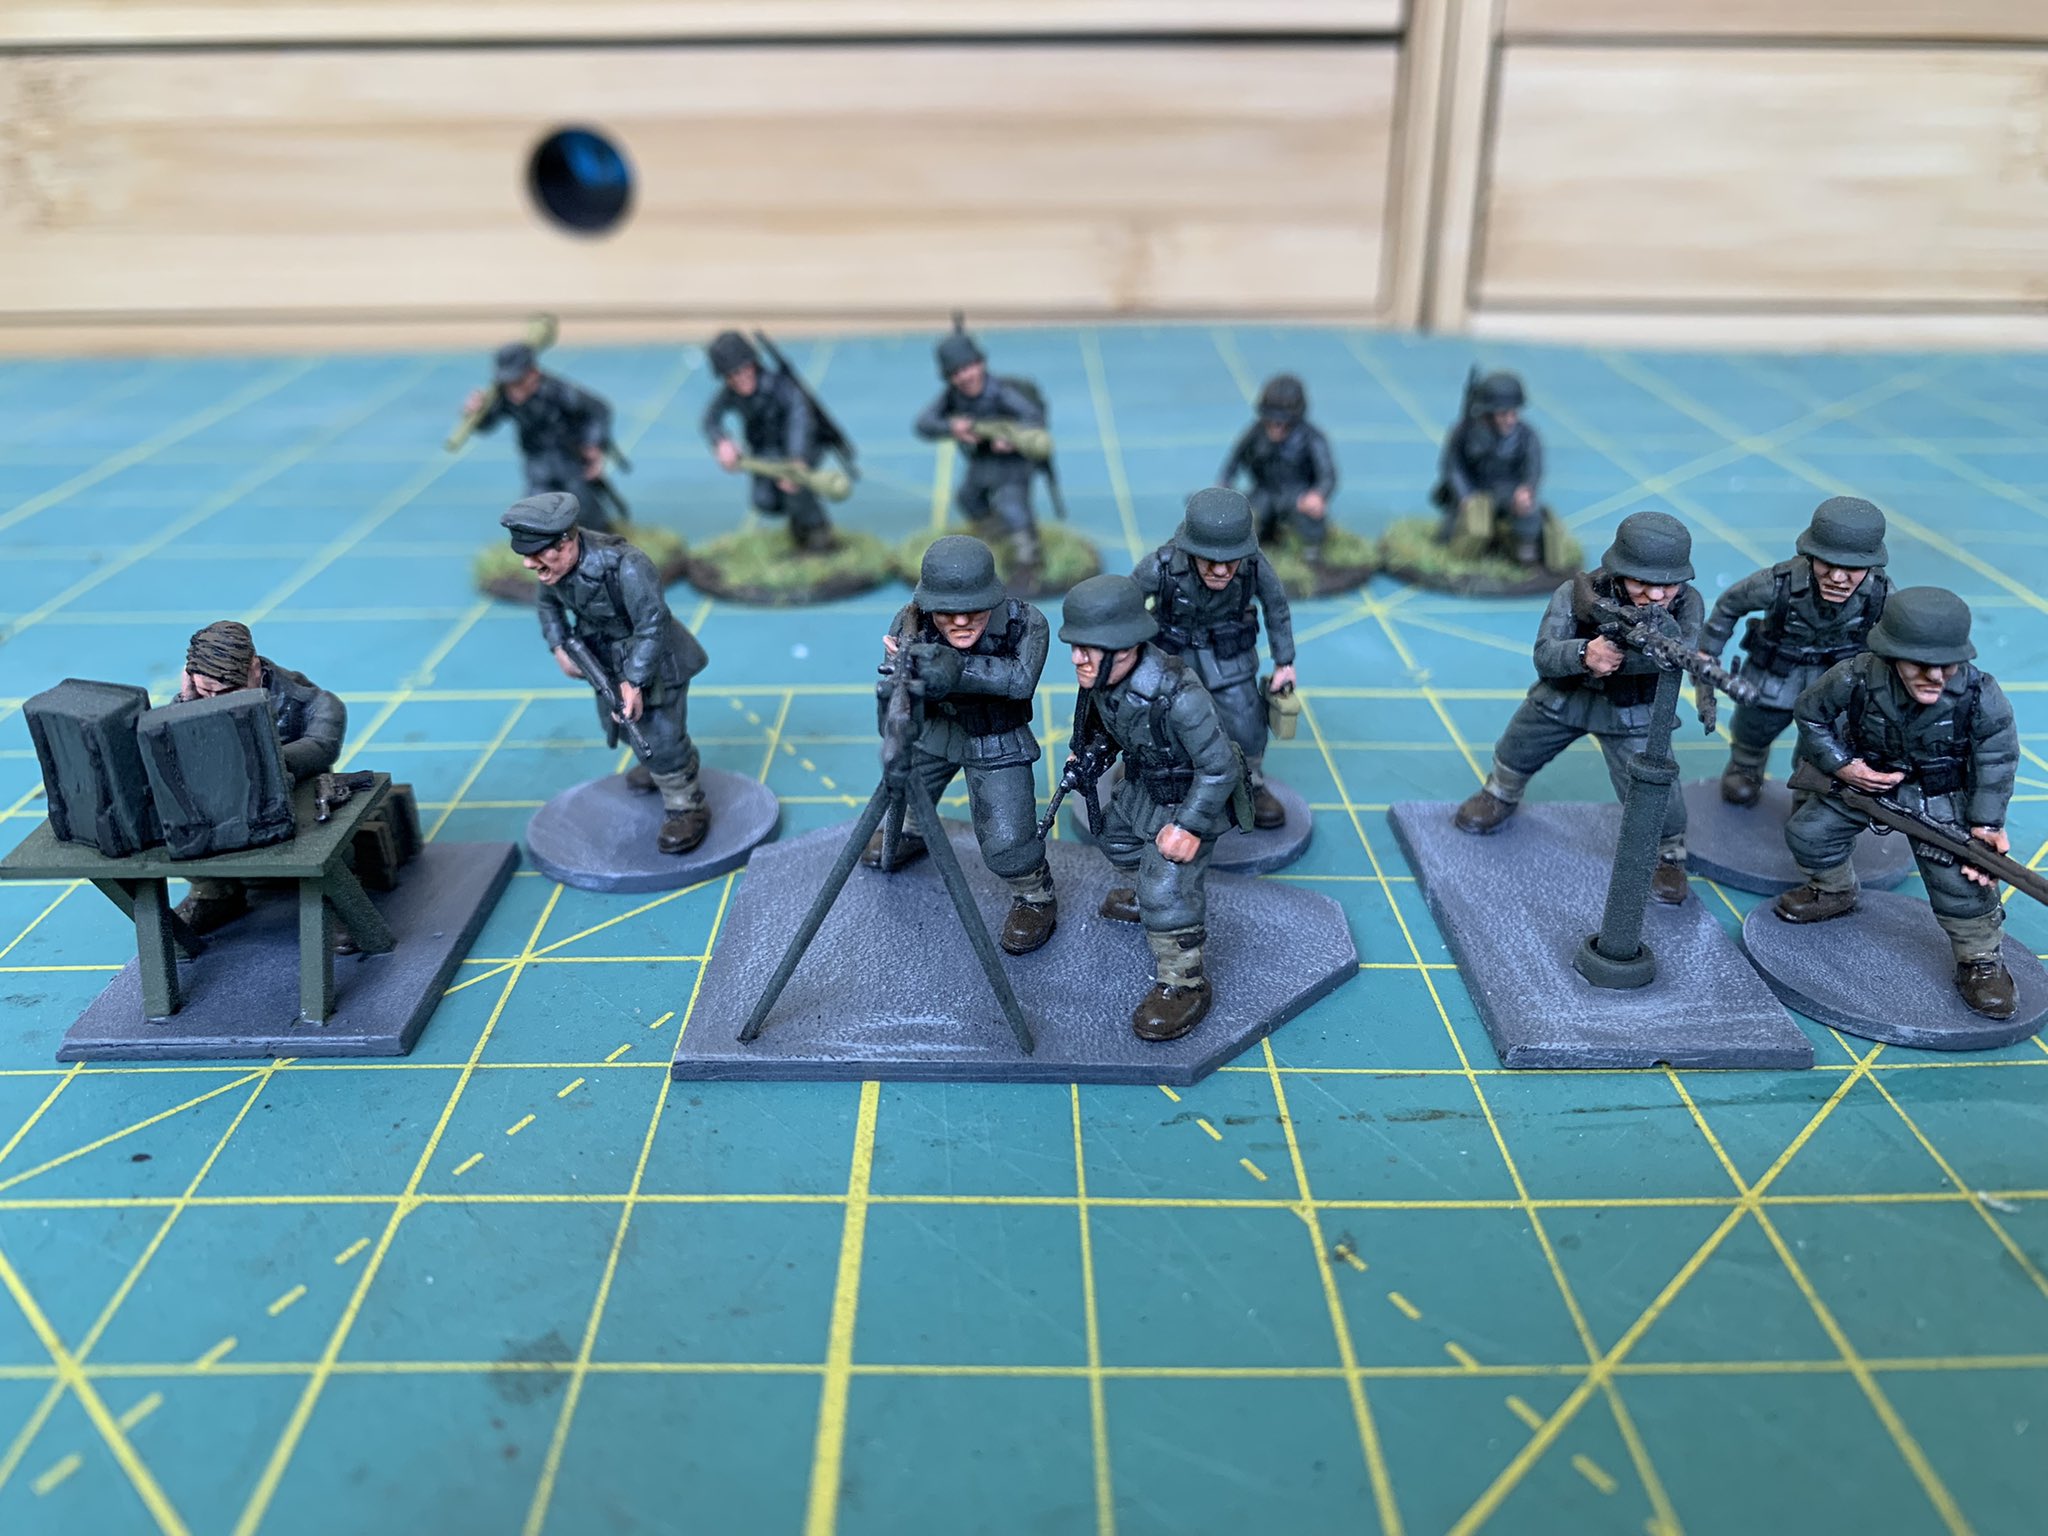
I wanted to increase the size of my German Paras as I only had two squads and not really enough for a game. Reading through various rule sets there seems to be different organisations for the squads. These are Early War Germans for operation Sea Lion. So not historical. I have painted enough figures for either one or two LMG's per squad. I may repaint the extras as Tropical versions if I can confirm the correct organisation. While I was painting these extras I updated a few of the older figures to see if it was manageable to repaint them all some time later. I tried something different with these. I added some drill to the black leather to give it a worn look. I have also undercoated some Warlord Games Mid/Late War figures which have been slightly modified for Early War.


Warlord Games recoilless Gun.


Saturday, 2 July 2022

WWII German Pillboxes

I have neglected the Blog again. Not sure who is viewing these posts but I guess there is some interest judging from the stats. I will post a few items to catch up.

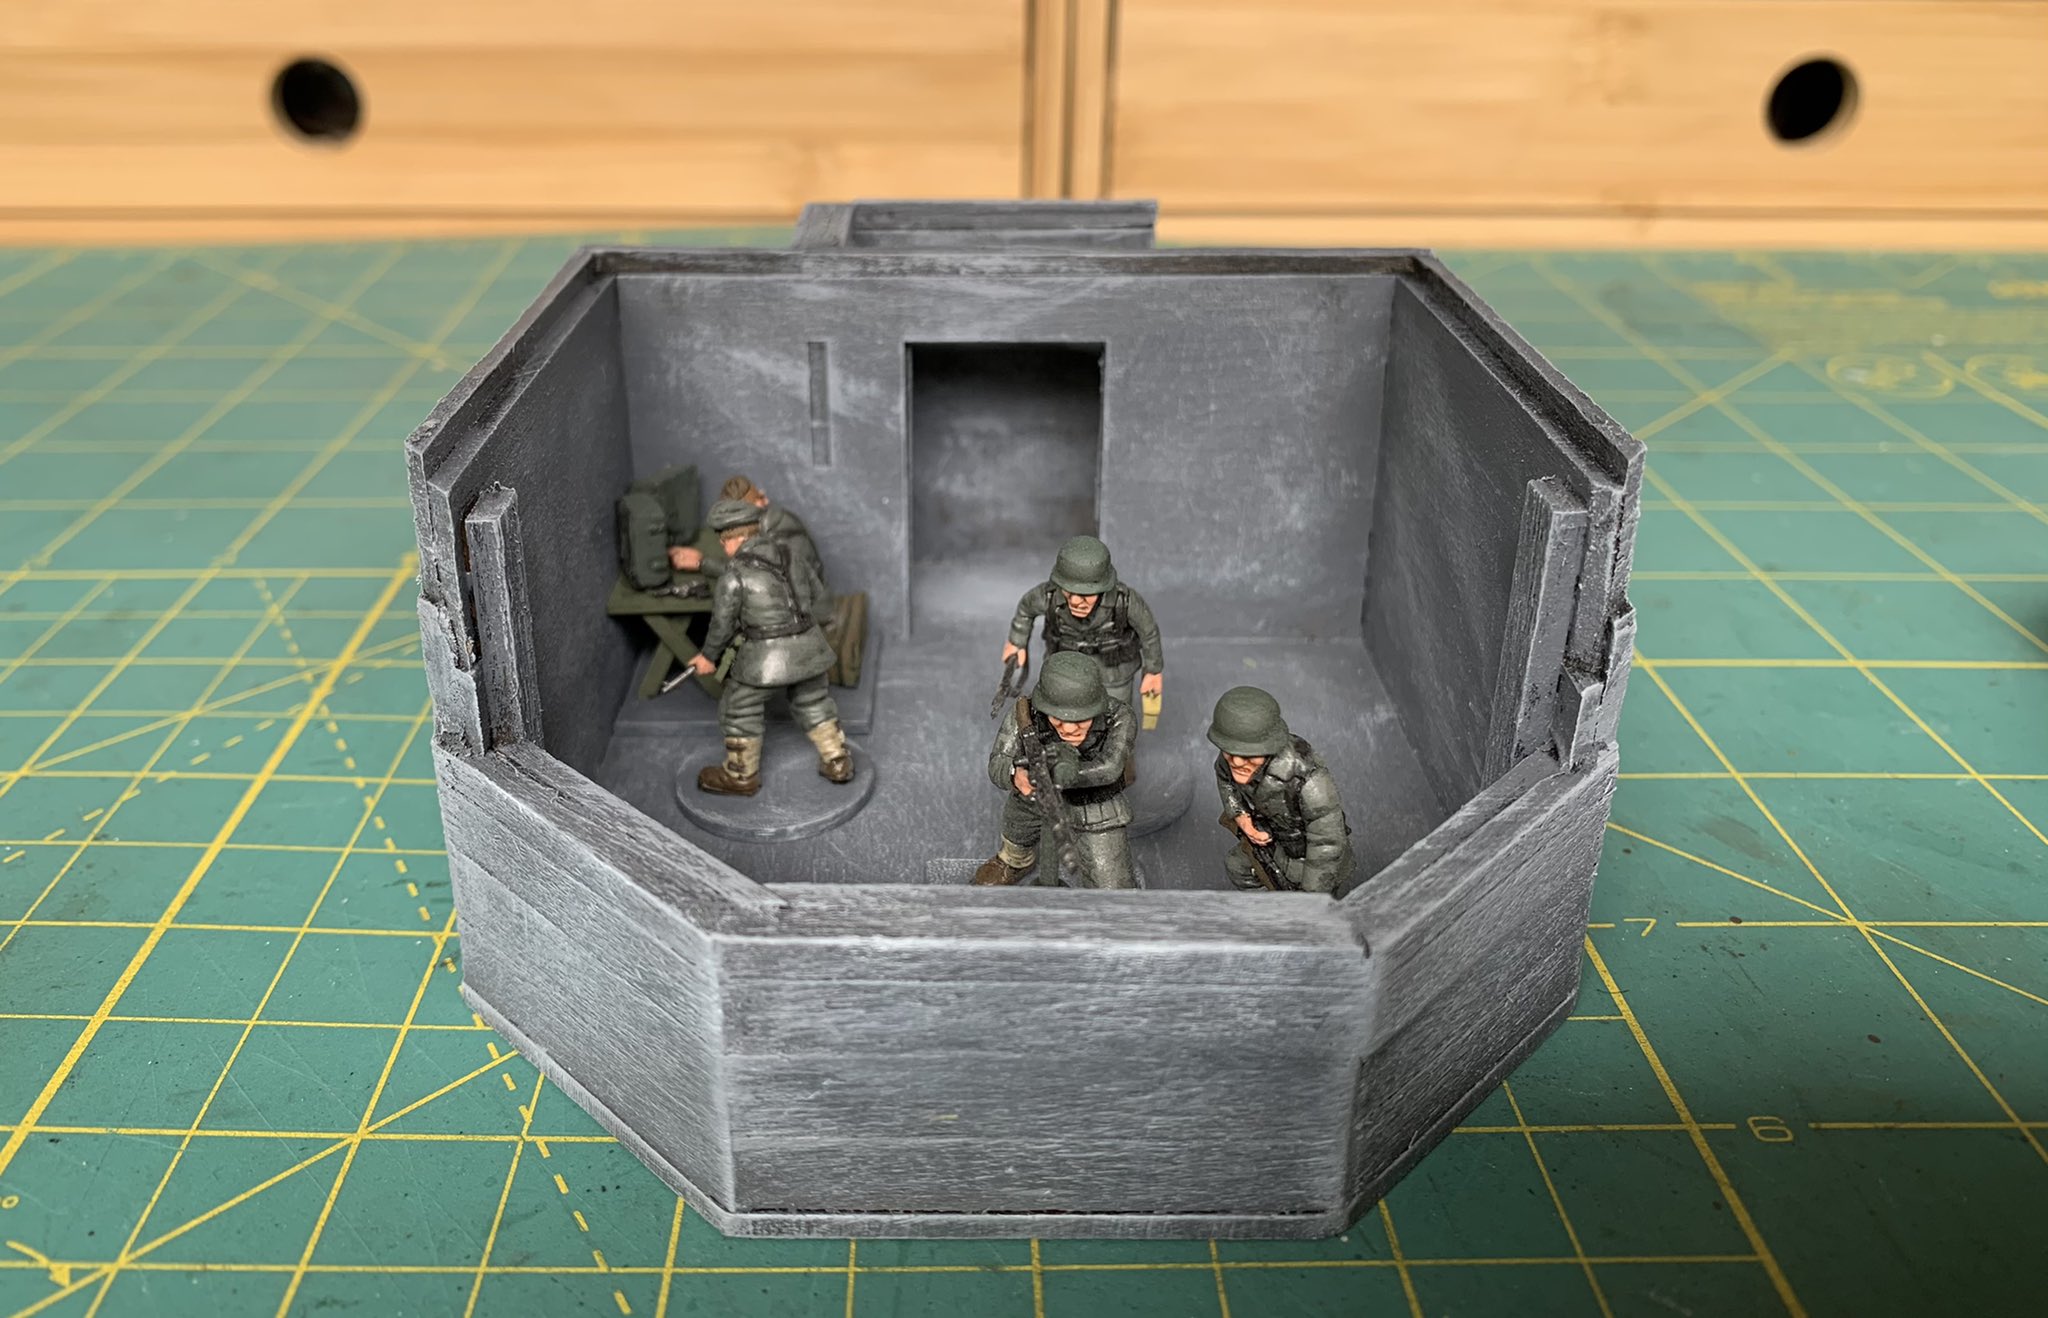
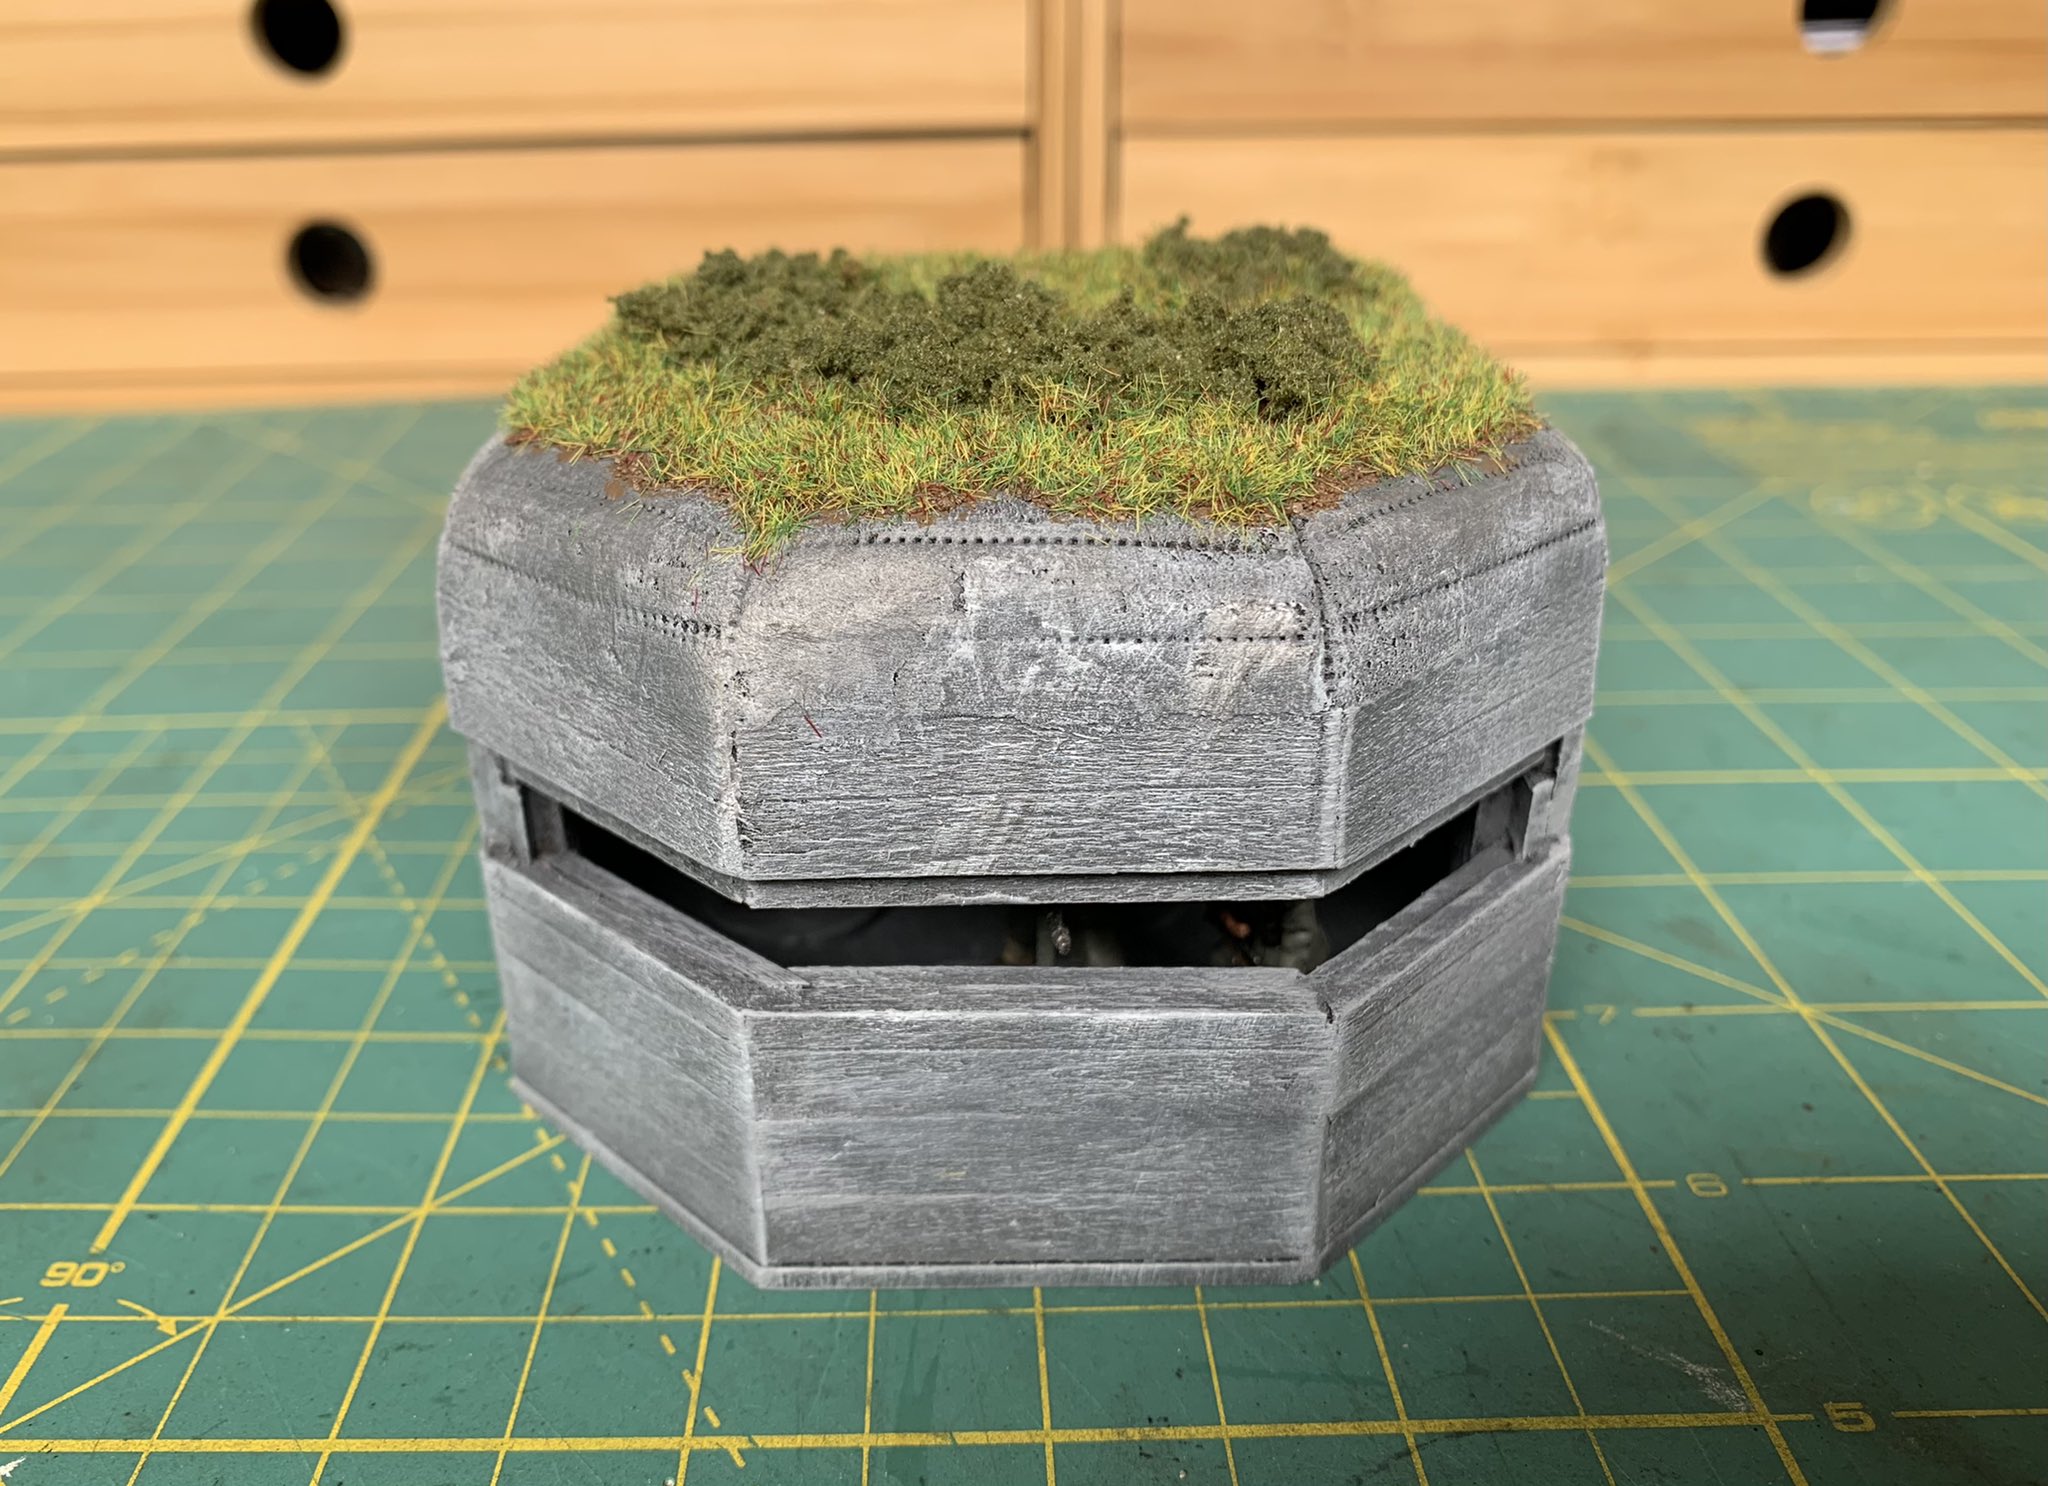
These Pillboxes were originally on first inspection more geared towards 40k in size. I cut the apertures down a bit and gave them a lot of extra detail. The crews were some left over Warlord plastic Germans which got new arms from Perry Africa Korp, in most cases. 


Saturday, 19 February 2022

Allo Allo, this is Night Hawk calling.

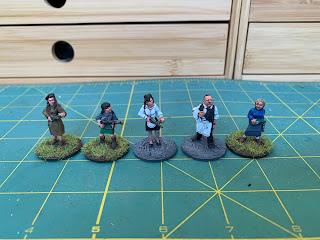
 As a break from my usual painting over Christmas, I dug out some Resistance figures from the stock pile. These are a mix of Artizan, Black Tree Design and Crusader. I tried to undercoat using The Zenithal method but found it hard to do with spray cans. I also found it very hard to paint as the colours seem to lack depth but was easier on my eyes. I think next time I will try spraying Grey and then do a black wash. I'd like to buy a few more figures when I do another order from North Star.

When basing I felt it wrong to put Rene and Yvette on earth bases as they were dressed for working in the Cafe. The others; Maria, Mimi, Michelle of the Resistance and the other Resistance fighters were done for the Countryside.


Tuesday, 11 January 2022

Luftwaffe Ground Troops.

These figures were bought in a large order from Ebay which a mate and I shared years ago. On receiving my share I found that I didn't like these figures at all. The issue I had with them were that they had equipment in odd places and weird looking weapons. The sculpting of the heads and other proportions were also a bit odd.

With no use for them I made them into Zombies by drilling holes and doing other damage to them. I think they were only used in a game once as dismounted tank crews. So having some spare Bolt Action heads left over from my Bunker Crews (still on my workbench) I decided to strip, repair them and do some head swaps. One of them got an MG34. The Officer is from another bulk buy and is a WestWind figure. I did one base coat of Field Grey and still didn't like them. I then thought of painting them as Luftwaffe troops. I already have an 88, a 20mm Cannon and a quad with not enough troops to man them so these would be handy. They can also be used as 2nd class troops.


Tuesday, 9 November 2021

The Tanks of Fury 2. Fury has been finished.

I cannot believe that it has been so long since I've updated the Blog. I guess I have been tweeting instead and thinking I've also Blogged the same things.

The last month I have been getting the windows, plus front and back doors in my house replaced with double glazing which has been stressful and taken up quite a bit of my time. Some issues are still to be sorted out.

The time I have had to work on Fury has been fleeting and I've also had new issues with the build that I have not experienced before. The first problem arose when I did the first coat of paint over the undercoat. The resin on the large tarpaulin reactivated and went all sticky. I left it alone for a week to see if it would firm up but it didn't. So I recoated it with Humbrol Enamel Undercoat which solved the issue. However once I had painted it and then put a wash over the paint it went sticky again. I cannot remember how I solved that the second time but it may have been another coat of paint. The next issue was the cotton I used to hold down the stowage went all hairy.  I spent some time trimming the hairy bits off. The next issue was that as my can of Army Painter antishine had run out I used a new can. Either this was not quite right or I held the can too close, or even put too much on. I found it was quite glossy and felt a bit sticky. Another much lighter coat solved this. I had almost finished it by this stage and decided to dirty it up. I have not really got the hang of this yet and did not get a very consistent result, but I think its ok.

In some spare time I also assembled Lucy Sue. Since I have just gotten my garage back from the builders I should be able to start to paint it soon. That is if I have time left over from painting my window frames.


Thursday, 9 September 2021

Battle Kiwi Church

You may have seen this one before. 

I was never happy with the finish as it looked too Dolls House picture perfect to me as I knew I had rushed it to get it on the table. So during lockdown I took it off the table where it was being used for a game and dirtied it up again and then did some dry brushing. The roof also looked too plain and boring so painted a pattern on it. I'm not sure this is any better but I will leave it now.


Monday, 6 September 2021

Red Vectors Bunker

Oh dear I seem to neglected my Blog. I discovered that Twitter is really easy to post using photos taken directly from my iPhone, without messing around with my old camera it is so much easier. I will continue to Blog as I find it is a really useful tool for recording my Hobby and easy to go back and look things up. Twitter seems to be rather difficult in that respect, or maybe I just have not worked it out yet?

I needed to order some MDF bases for my DBMM Army and saw a couple of cheap bunkers on Mini Bits site so ordered one small and one large for WW2. However when they turned up they seemed to be better suited to 40k. I assembled the large one and then once dry I sawed the front off and rebuilt the Embrasures.  I then covered the MDF with some Hobby Basswood and also covered the roof in green foam. One side is designed to hold an AT Gun, in this case a Soviet 76mm and the other side a Wargames Foundry LMG on AA mount. The other Bunker will be getting a Black Tree Design HMG. 


I'm really pleased how well this turned out. I have had plenty of time to work on it as we have been on Lockdown although I have had to work part time.


I will take more photos once I have painted the crew figures and made the other Bunker.


Saturday, 10 July 2021

The Tanks of Fury. Part 1.

I really should be painting Celts.

I have another batch ready to undercoat but wanted to do something different. I decided that since I have just finished a Panther and a Tiger that I should add an American 76mm to my collection. Looking through my stock I discovered that I could do three of the Tanks from the Movie Fury. 

Fury, an M4A3E8 from Tamiya. I think they actually used a Post War A2 in the Movie.

Lucy Sue, M4A3 75mm from Tamiya.

Old Phyliss, M4A1 76mm from Hobby Boss.

I'd also like to do Matador an M4 105mm HVSS which would have to be converted from a M4A3E8.

And also Murder Inc, an M4A3 75.

I have been painting Fury today with my Airbrush, but remembered halfway through that I should have left Black camouflage instead of coating it totally in Olive Drab. I guess I can go back and repaint the bands with a mix of Black and Olive Drab next session. The Black is really subtle so I wouldn't want it too dark. In some spare time I have also managed to assemble most of Lucy Sue. The most time spent on Fury was assembling the stowage. I had intended to get it as close as possible to the photos I found, so spent ages scratch building as much as I could. It's not exact but will give a close resemblance to the real thing.

I might be able to recreate some of the scenes from Fury using What a Tanker at some stage.


I had to laugh today as it is the first time that I have spray painted an M1 Helmet in 1/48th scale.

Saturday, 22 May 2021

More musings on Dunklegelb.

I have done some more investigating into my collections of German WW2 vehicles. My painting efforts started with a collection of 20mm Wargaming models. Some were resin but most were plastic. Back in those days (post 1987) I would have been using Humbrol German Dark Yellow. I sold off my stock of Humbrol's some years ago so don't have the product code on hand. This is a slightly yellow version of Dunklegelb and is pretty accurate as far as I remember. At this time I also made some 1/35th scale vehicles and which looks like I used the Tamiya version. The lightened version I used on the Tiger looks similar to the paint I used on my 20mm vehicles as seen on this Halftrack below.


The 1/35th scale Panther seen below looks like plain Tamiya XF-60.


Seen below is a PAK40 from Artizan which was hand painted using Vallejo Middlestone, which is a slightly yellow version of Dunklegelb.


This 88mm AA/AT Gun is the old metal version from Black Tree Design. I really love this model and the Luffewaffe crew I converted for it. This is where I feel the problem of colour choice started. I also painted a Corgi Halftrack, 2 Panzer IV's. Kettenkrad etc in this colour. Searching through my old jars I found a bottle of XF-59 Desert Yellow. This could be the base colour I used but I would have to spray something with it to be sure.


Shown below are all the Vehicles I have so far for my German Collection. Top left is a pre-painted JagdPanther from Tamiya I bought on a trading site. Then Tiger, Panther and the pre-painted Corgi Panther. Below left are a Tamiya Kettenkrad, four Tony Ashcroft 251's then a Corgi pre-painted quad AA Halftrack. 


Top right are two Tamiya PIV's, and below a re-painted Corgi Halftrack, BTD 88mm and three Corgi pre-painted Kubels.


Somehow I think I have too much for CoC and maybe should go back to Troops Weapons and Tactics (TWAT). I certainly have enough for What a Tanker (WAT). 

So in conclusion I think I will keep on using the Tamiya XF-60 but following a suggestion I saw on You Tube I will add some yellow and white to the bottle. 25% of each was the suggestion but I will have to experiment with this first. I could just buy some XF-88 which is the new paint but have so much XF-60 I might as well use that up first.

Saturday, 15 May 2021

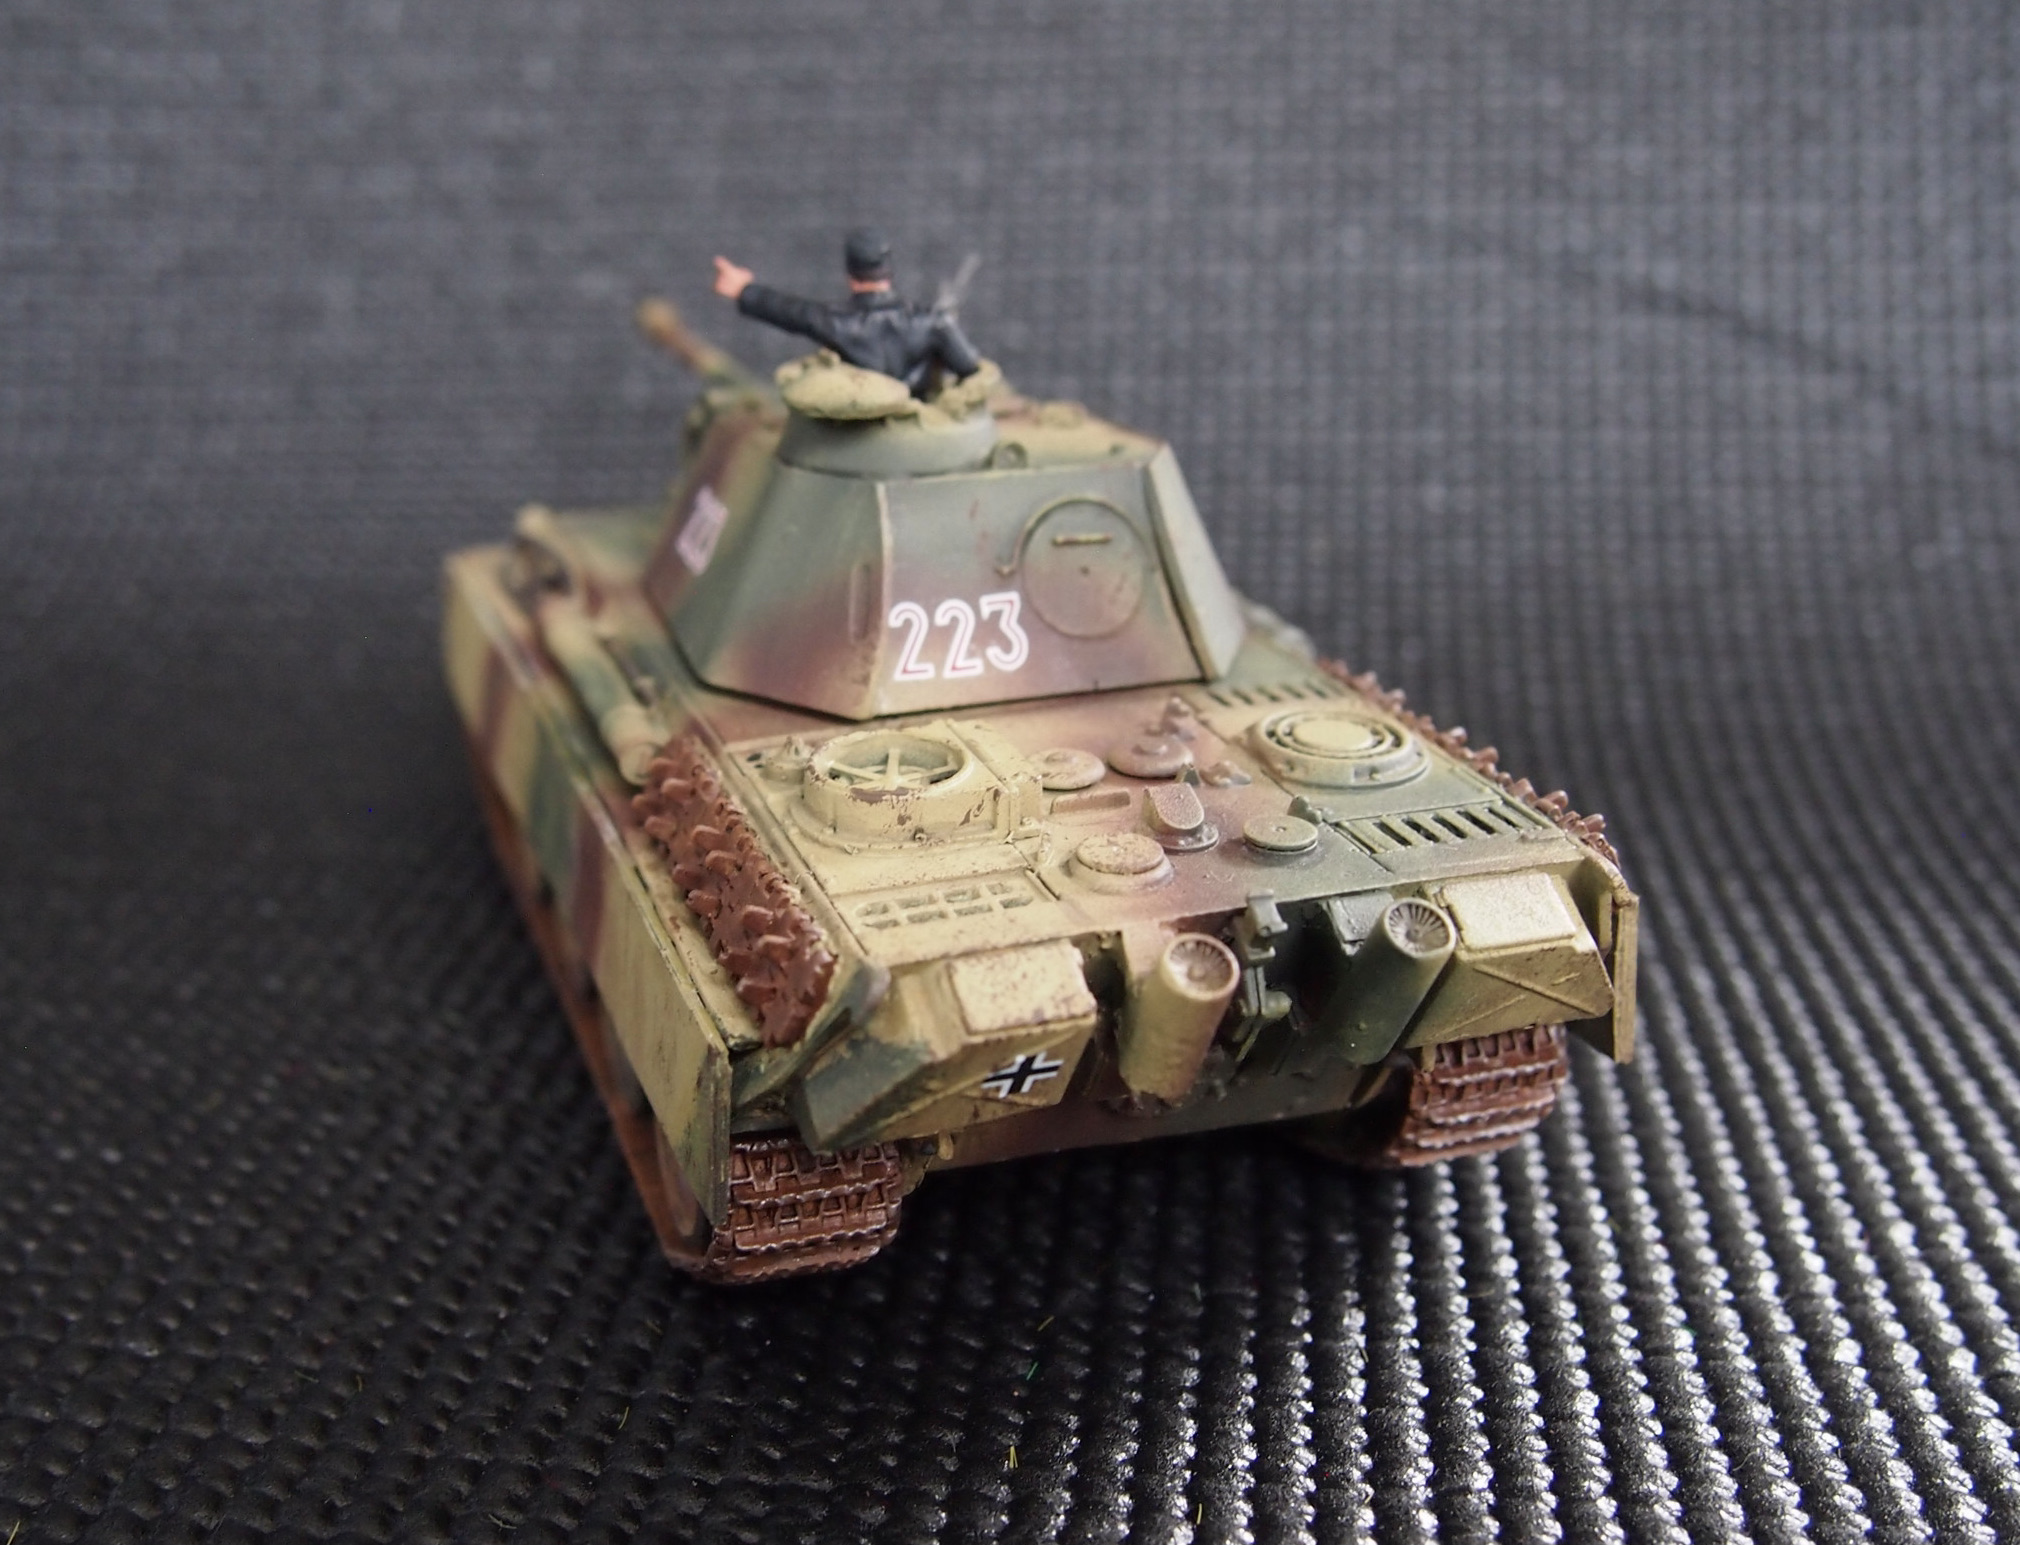
Blitzkrieg Models Tiger 1 and Panther G Late.

It has been a while since I have done any Late War German Armour. The Last time I did anything German in 1/48th scale must be about 15 years ago. I saw that Empress was selling off its Blitzkrieg models a bit cheap I jumped at the chance. I had tried to buy the Corgi Tiger1 for what seems like decades but they always go for silly money. Somehow I got the Panther A for a decent price but when I was thinking about repainting it and first checked the price on Ebay, I found that I could triple my money on it so left it as is.

The Bltizkrieg models arrived very swiftly which surprised me as I was expecting a long wait time due to Brexit and Covid. Unfortunately they were delivered by Dropkick Couriers this end.  They seemed to be well packed but both had damaged track sections which required quite a bit of work to repair.

I used Tamiya paints with my Airbrush which had been in my spray booth for about a decade and had rust all over some of the parts. I gave it a quick clean up and it seemed to work ok for the camouflage job but I don't think I should use it for any finer work.

I was really happy with the finish until I took them outside to compare with my older models. They are all much yellower than these and look much nicer to me. I had used some white in the Dark Yellow for the top coat so will add some Yellow for anything else in this scale. I am pretty sure that I used Tamiya paints on the older models but it could have been Humbrol Enamels, I just cant remember. I also mixed the Green in with a lighter Green and put some extra Red in the Brown to get the colours I wanted. Possibly it is the undercoat at fault as I remember doing some US Armour that it took ages to get the US Green to a lighter tone I was happy with? I am undecided about the track colour, I tried different washes and products on them which didn't really change the colour very much.

I could not work out what the Tiger was meant to be? It has Fiefel Air cleaner system and Drum Copula but is covered in Zimmerit. I could not find any photos of its use in Russia or Europe in this configuration so settled on it being a Hollywood Tiger. The Tigers in SPR and Kellys Heroes are this type although built on different chassis. The number is SS-Oberscharfuhrer Karl Ottos Tiger from Kelly Heroes. I will have to paint a dismounted figure for it as I have some of the US characters already. I had to sand off some of the Zimmerit as it is really thick and over done. The decals would not have sat very well without doing this.

The Panther is well represented of a Late War G. I added some extra stowage and tools but it still looks bare. I didn't want to cover all the nice detail up and cover the hatches as they are well sculpted.

The Corgi Tank in the photos is much Yellower than my other models so don't take that as a comparison point. I just wanted to show the size difference between 1/48th compared to 1/50th.


Edit. After watching some videos it seems that Tamiya has gotten the Colour wrong. They have produced a new version of the German Yellow which is lighter. I now think I was using Humbrol Enamels previously.